Connecting Your Website
Connect a site to diy-analytics with a single <script> tag. The client tracker is under 2 KB, loads asynchronously (async defer), runs without cookies, and has zero third-party dependencies.
Supported Frameworks & Platforms
Next.js
App & Pages Router
React / Vite
Vite, CRA & SPA
Astro
Static & SSR islands
Nuxt / Vue
Vue 3 & Nuxt apps
SvelteKit
Svelte & SvelteKit
WordPress
WPCode & functions.php
Shopify
Liquid theme templates
Framer & Webflow
Custom head code
Setup
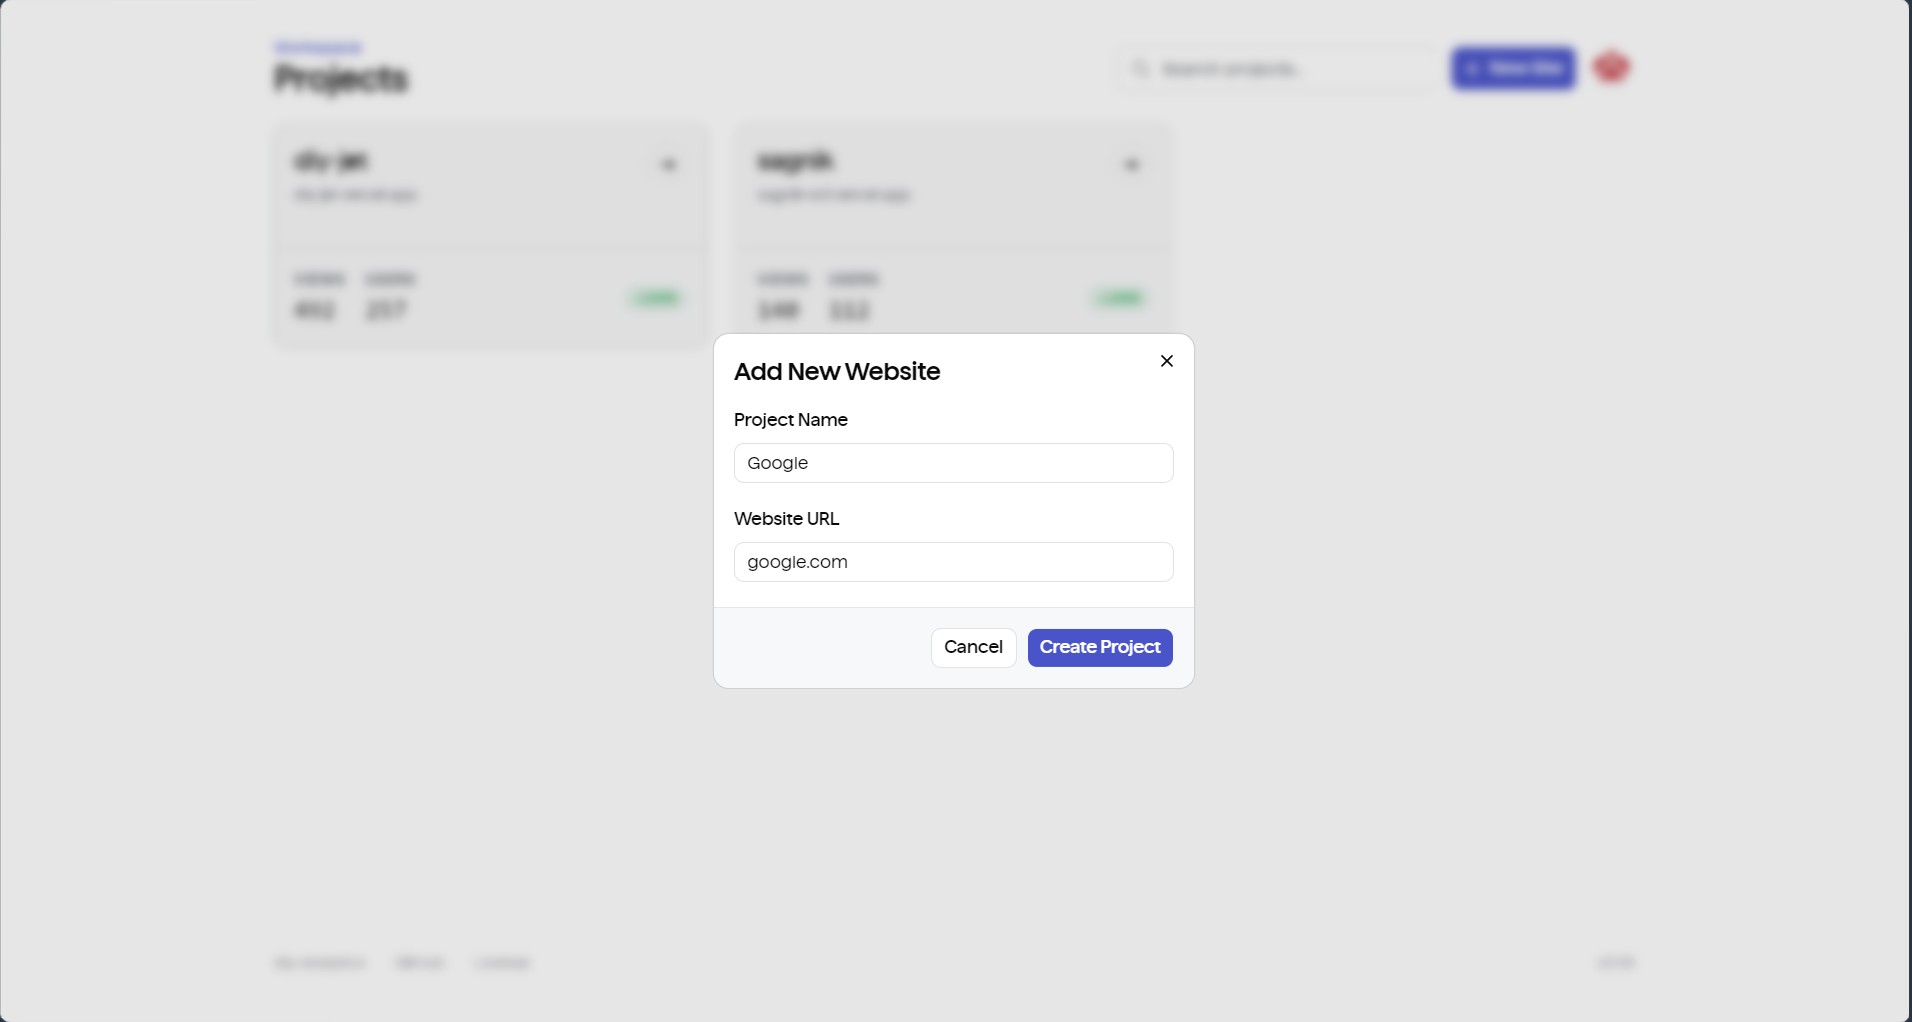
1. Register your site
- Open your
diy-analyticsdashboard. - Click + New Site in the workspace navigation.
- Enter a Project Name and your primary Website URL (e.g.
https://mywebsite.com).
2. Copy the tracking tag
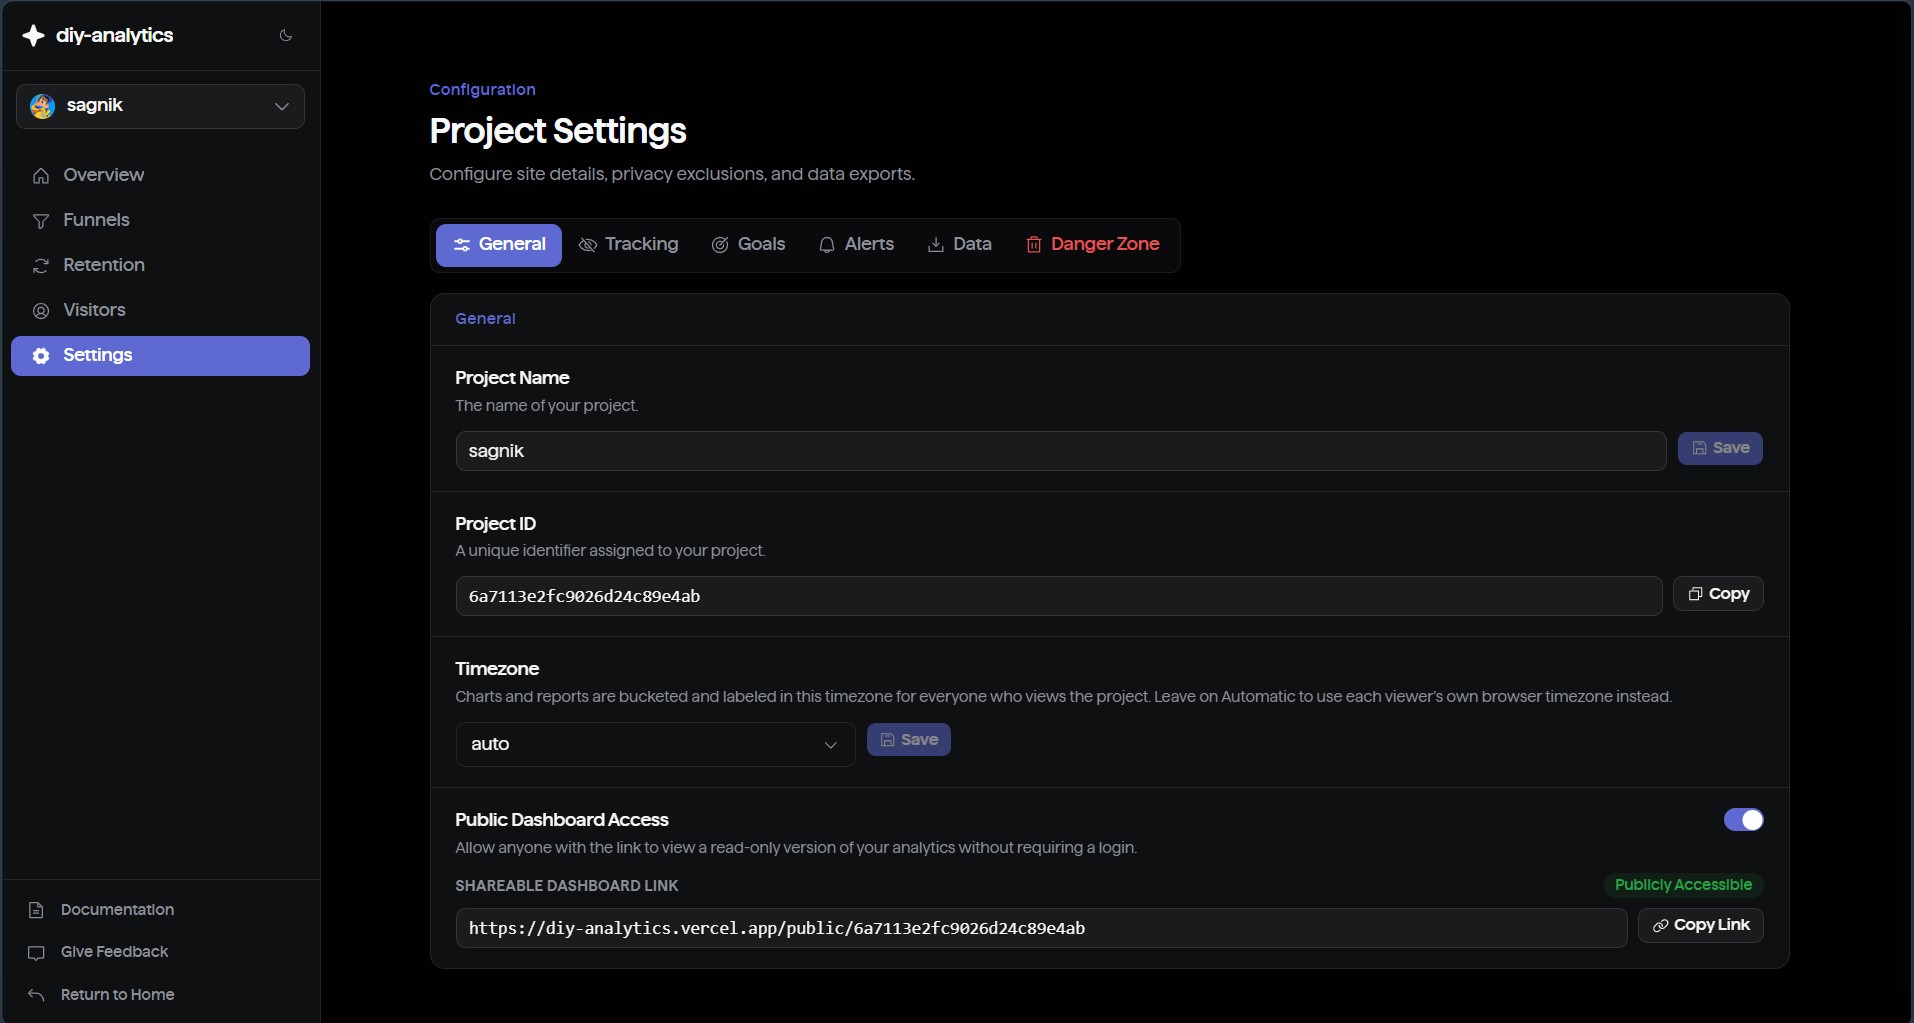
In your project dashboard, go to Settings → Tracking Snippet (or copy it from the welcome screen):
3. Add it to your <head>
Paste the <script> tag inside your site's <head> so it loads on every page.
Framework Integration Guides
1. Next.js (App Router)
Add the tracking script to your root layout (app/layout.tsx) using Next.js's <Script /> component with strategy="afterInteractive":
2. Next.js (Pages Router)
Place the script in pages/_document.tsx:
3. React (Vite / Create React App)
Insert the tag directly into index.html, inside <head>:
4. Astro
Add the script to your base layout (e.g. src/layouts/Layout.astro):
5. Nuxt / Vue 3
Add the script inside nuxt.config.ts or app.vue:
6. SvelteKit
Add the script to src/app.html, inside <head>:
7. WordPress
Option A (recommended): Install WPCode or Insert Headers and Footers, then paste the <script> snippet into the Header section.
Option B (theme functions.php):
8. Shopify, Webflow, Framer, Ghost
- Shopify: Online Store → Themes → Edit Code →
theme.liquid, before</head>. - Webflow: Project Settings → Custom Code → Head Code.
- Framer: Site Settings → General → Custom Code → Head Start.
- Ghost: Settings → Code Injection → Site Header.
Single-page applications
Client-side routers (React Router, Next.js, Vue Router, SvelteKit) don't need a routing plugin or manual pageview calls. The tracker listens directly to:
- History API calls —
history.pushStateandhistory.replaceState - Browser navigation —
window.addEventListener('popstate', ...) - Hash changes —
window.addEventListener('hashchange', ...)
Every navigation dispatches a new pageview beacon, without a full page reload.
Domain authorization
The tracker checks that the request origin matches your project's configured domain, so unauthorized domains can't send beacons into your database.
- Exact matching: if your project URL is
https://example.com, bothexample.comandwww.example.comare authorized automatically. - Staging environments: for subdomains like
staging.example.com, create a dedicated staging project or update the domain under Project Settings → General.
Seeing Domain not authorized for tracking in the browser console? Confirm the website's domain matches the one configured in Project Settings → General.
Verifying installation
- Open your live site in Chrome or Firefox.
- Open Developer Tools (
F12) and switch to the Network tab. - Filter by
tracker.js— it should return200 OK. - Navigate between pages. You'll see POST beacons dispatched to
/api/track. - Open your
diy-analyticsdashboard — visits appear immediately under Live Visitors and the Traffic Insights chart.