Quickstart Deployment
Deploy a production-ready diy-analytics instance in under 3 minutes using Vercel and a managed PostgreSQL database.
diy-analytics is free and open-source under the MIT license. Star the GitHub repository to stay updated on new releases.
Prerequisites
Before you start, you'll need:
- A GitHub account to fork or deploy the repository.
- A Vercel account to host the Next.js App Router dashboard.
- A PostgreSQL 14+ database with connection pooling (Neon, Supabase, Vercel Postgres, or Railway all work).
Deployment guide
1. Provision a PostgreSQL database
We recommend Neon for instant serverless provisioning and built-in connection pooling:
- Sign up at Neon and create a new project.
- In the Neon dashboard, select Pooled connection (the host contains
-pooler). - Copy your connection string:
Always use the pooled connection URI in production (-pooler in Neon, port 6543 in Supabase). Direct, unpooled connections will exhaust your database's connection limit during traffic spikes.
2. Deploy to Vercel
Fork the repository and start an automated deployment in your Vercel account:
3. Configure environment variables
During the Vercel deployment wizard, set the following:
| Variable | Required | Description | Example |
|---|---|---|---|
DATABASE_URL | Yes | Pooled PostgreSQL connection URI with SSL | postgres://user:pass@host:5432/dbname?sslmode=require |
NEXT_PUBLIC_SITE_URL | Yes | Public URL of your analytics app, no trailing slash | https://analytics.yourdomain.com |
CRON_SECRET | No | Random 32+ character string that secures the daily rollup cron | random_secret_token_abc123 |
DATABASE_STORAGE_CAP_MB | No | Soft storage threshold shown in the UI | 512 |
You can leave NEXT_PUBLIC_SITE_URL pointed at Vercel's temporary .vercel.app domain during initial setup, then update it later under Vercel → Project Settings → Environment Variables once you attach a custom domain.
4. Run database migrations
Apply the schema to your PostgreSQL instance:
If you're deploying from the CLI, clone the repo locally, create a .env.local with your DATABASE_URL, and run the command above. It only needs to run once per database.
5. Log in and create your first site
- Open your live deployment URL.
- Create your workspace owner account on the initial setup screen.
- Click + New Site and enter your website's primary domain.
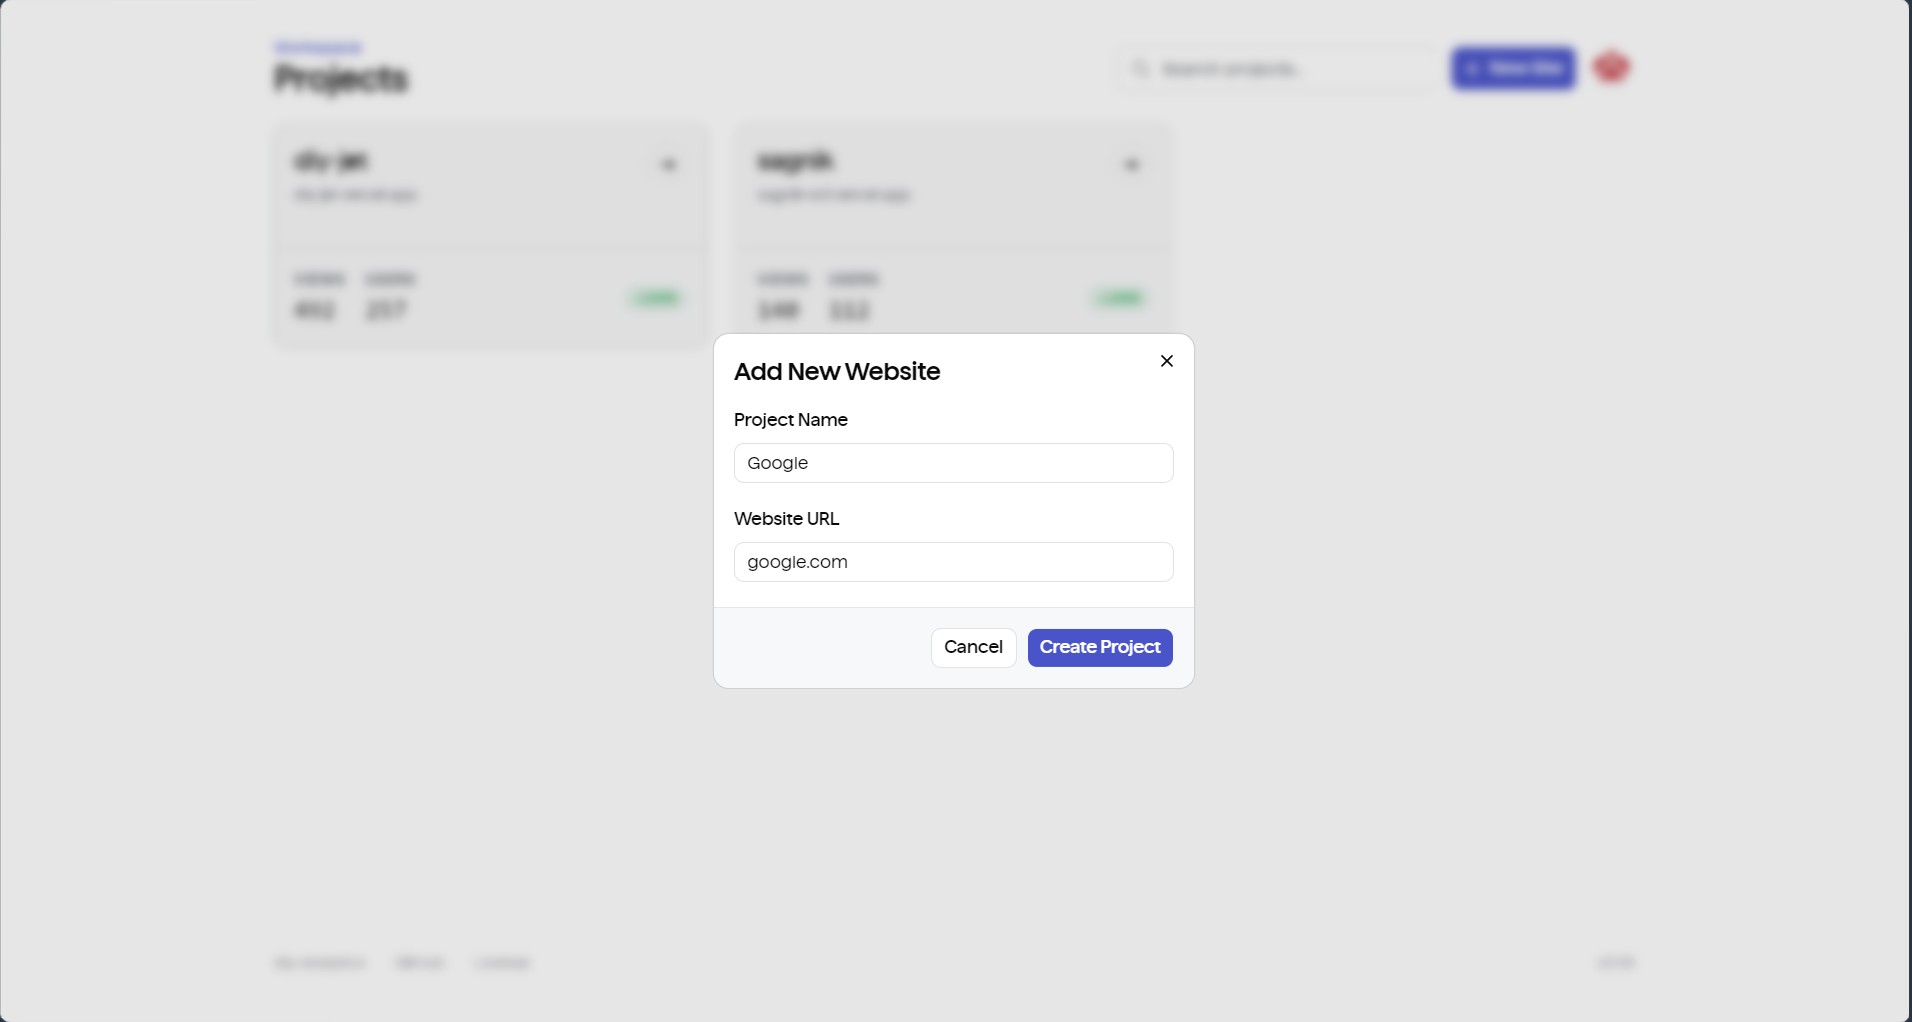
- Copy your tracking script tag:
- Paste it into the
<head>of your website. See Connecting Your Website for framework-specific guides.
What happens behind the scenes
- Daily rollups. A Vercel Cron job (
/api/cron/rollup) runs every day at 03:00 UTC, compressing raw telemetry into daily aggregates and pruning expired historical records. - Real-time telemetry. Sessions appear on your dashboard within seconds of a visitor loading your website.